5 ways to boost your workflow with iLoveIMG
Make the most of our new 'Connected Tasks' for fast image editing
Sometimes a single tool is not enough for all your edits. iLoveIMG offers simple yet powerful tools for basic image editing. Our main goal is to deliver free, accessible and top-quality service to satisfy your needs when managing image files online.
Up until now, our tools worked independently, so just one tool could be used for each task. We realized, after carefully listening to our user’s feedback, that it would be useful to combine more than one tool in a connected process when working with image edits.
This way, you don't have to upload and download files every time you want to continue in editing. For instance, after converting RAW images to JPG it is possible to continue in the process by compressing these images in order to save computer storage space.
Before having a connected workflow option, the editing process was slower. For those with slow internet connections, it could take a considerable amount of time when dealing with large-size files such as digital images. Connected tasks do not only make the editing process smoother and seamless but also help you save time.
Connected workflow takes editing experience to a next level. If you want, you can jump endlessly from one tool to another. However, we give you 5 great ideas to make the most out of our brand-new connected workflow.
Make a GIF with subtitles
Captioned GIFs are on every Social Media, especially Twitter or Tumblr. GIFs with subs, or reaction GIFs, are often used to answer questions or replay in playful ways to online discussions.
GIFs are also a powerful tool for marketers trying to generate engagement in online communities. Their versatility makes them a good fit for other marketing practices such as newsletters or social media content.
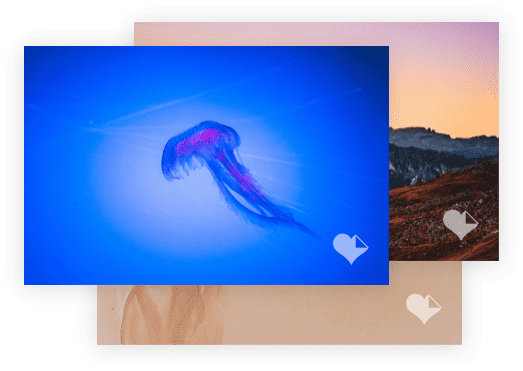
With iLoveIMG you can make an animated GIF with a caption, such as the one below, combining two of our tools.
How to make a captioned GIF
- Upload your images. Navigate to our ‘Convert from JPG’ tool. You can upload a batch of images in JPG or PNG format.
- Convert to GIF. Select ‘Animated GIF’ option and define the time in seconds per image. You can choose to make it a loop or not.
- Click on the ‘Convert images’ button. Now, instead of downloading your GIF, click on the Stamp icon. You’ll be navigated to our Watermark tool.
- Caption GIF. Click ‘Add text’ button from the menu on the right. An empty box - to add your subtitle - will appear. You can drag it and place it wherever you want.
- Custom size and font options. You can custom the color, size, position, and typography of the subtitle font.
- Create and Download. Click the ‘Add Watermark’ button to process your captioned GIF and share it on your social media channels.
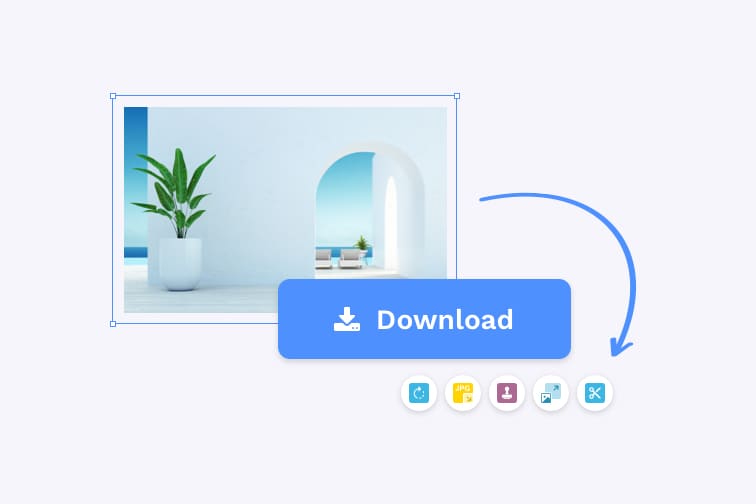
Optimize images for e-commerce
If you run an online store, image optimization is a skill you need to master. Image optimization is reducing the file size of your images, or 'compressing' without compromising their quality and it is really important for your website performance.
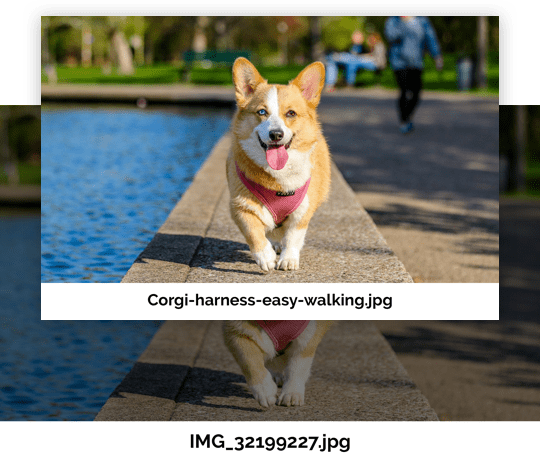
Equally as important as filesize is what you name your image file. Without the proper optimization you’re wasting a valuable SEO asset. Image file names alert search engines to the subject of your image. Instead of uploading images named with random numbers assigned by the camera, rename them correctly using descriptive titles including keywords related to the subject your image represents.
Imagine that you are an online e-commerce selling dog harnesses. The corgi picture on the top is SEO optimized because it's named using keywords that describe the subject of the image; making in easier for Google to find you based on provided information in the images´ description.
In addition to GIF and Watermark tools, iLoveIMG offers reliable image compression software and a simple resize tool. Follow these steps:
How to optimize e-commerce images
- Upload your images. Navigate to our ‘Resize JPG’ tool. You can upload a batch of images in JPG or PNG format.
- Rename your files. Click on the file name, the cursor will blink. Rename your files with descriptive words containing keywords related to the image.
- Choose between 'Resize by pixels' or by 'percentage'. Define the new size of your images on the tool menu. You’ll be directed to the download screen.
- Process and optimize. Instead of downloading your files, click ‘Compress’ icon on the download screen. You’ll be redirected to iLoveiMG 'Compress tool'. All images will be compressed with the best quality and filesize ratio.
Protect a batch of online images with watermark
Probably one of the most controversial topics among photographers is the usage of watermarks. Those who disagree with the usage of watermarks claim that they don’t protect images from piracy - especially when a watermark is placed close to the border of an image.
On the other hand, a watermark can prevent your work from being featured in blogs or on social media without your consent. In other words, a good and subtle watermark can help you protect your images from the start of their own journey.
Whether you agree or disagree, it needs to be said that Watermarks are an extremely useful way to protect the rights of your online images. With our iLoveIMG Watermark tool, you can easily watermark a batch of images in no time.
How to protect online images
- Upload your images. Navigate to our ‘Watermark’ tool. You can upload a batch of images in JPG or PNG format.
- Add your watermark. Click ‘Add text’ button from the menu on the right. An empty text box will appear. Drag it to place watermark wherever you want. Click on the box to enter your name and/or contact details such as website or blog.
- Customize the size and font options. You can customize color, size, position, and typography of the subtitle font in the upper menu.
- Add your logo (optional). You can also add your logo if you want. Just click “Add Image” on the right side of the menu bar. The watermark will retain its position in each photo.
- Create and Download. Click the ‘Watermark Images’ button to process your watermarked images. Instead of downloading your files, click ‘Compress Images’ icon to optimize your images.
Make a meme from your own image
Memes are one of the biggest phenomena on the Internet. In fact, memes and the Internet have just been made for each other. Most of the time, memes are captioned photos of elements from popular culture that portray topics of human behavior in a funny way.
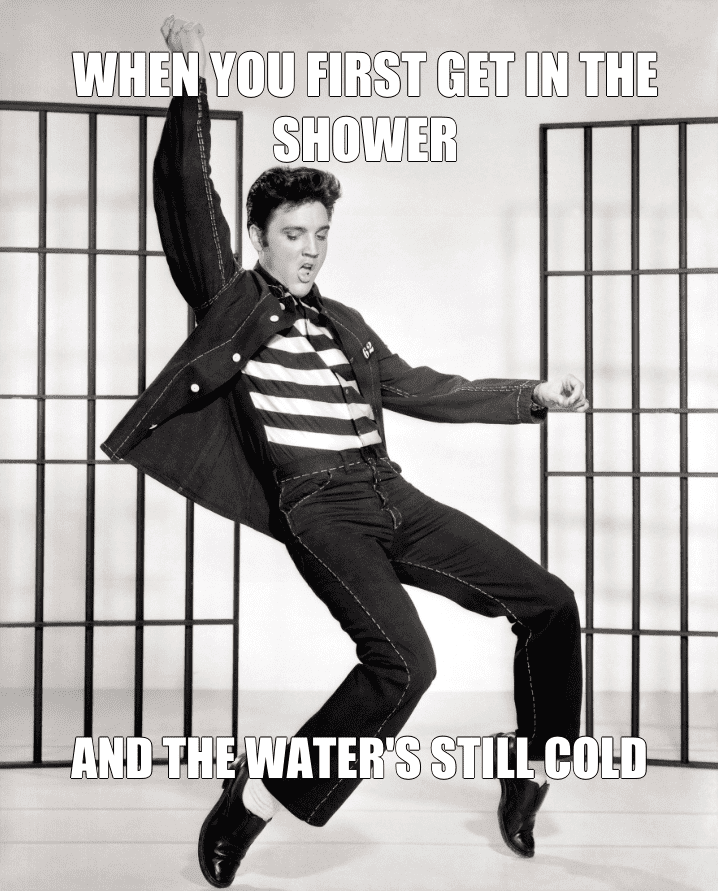
Although our Meme Generator is packed with endless meme templates, you can use your own images to make a custom meme. Same as GIFs, memes offer plenty of opportunities for marketers and brands to engage with their audience.
How to create custom memes
- Upload your own image. Navigate to our ‘Meme generator’ tool. You can upload images in PNG, JPG and GIF format.
- Add a caption. Caption your Meme with a witty text. You can use white Impact font with a black outline which is the original meme font. You can further adjust your meme text in the upper menu.
- Generate meme. Click ‘Generate Meme’ button. Your Meme will be processed in no time.
- Optimize meme for social media. Once in the download screen, head to “Compress Icon” to optimize your Meme for social media.
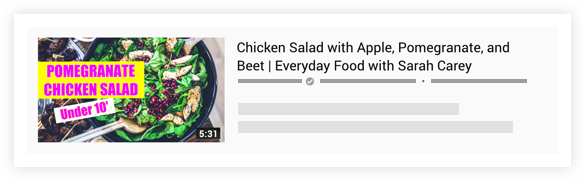
Make Youtube thumbnails
You never get a second chance to make a first impression. And Youtube video thumbnails are the first impression for people browsing through lenghty video lists to finally get to your piece; therefore, it is a great opportunity to hook potential viewers.
If you want to create an attractive video thumbnail that helps you win more viewers and increase your subscribers´ base, include a short and catchy title. Summarize your video content in a visually organized way while making a great first impression.
How to make custom Youtube thumbnails
- Upload your image: First, choose a nice screenshot from your video or use a relevant image for your thumbnail. Then, navigate to our Watermark tool and upload your image.
- Add a title. Select ‘Add text’ from the right-side menu. Make your text large and readable. Use block letters “Sans Serif” to make your thumbnail readable for viewers browsing from a mobile device.
- Custom font options. Try using bright colors to make your thumbnail stand out. The style of the text should match the tone and content of your video. Customize font size, color, and shadow in the upper menu.
- Enhance your image. You can include design elements such as color or shape to enrich the background of your title. You can create a layered effect to make your thumbnail pop out by adding more images. Click ‘Add Image’ button from the right-side menu bar and start creating your thumbnail-perfect designs. Don’t be afraid to experiment!
- Process your thumbnail. It doesn't take more than a few seconds. Once you download your new thumbnail, you can continue your work by compressing the image to ensure its optimal size. Keep in mind that Youtube requires a file size of maximum 2 MB.